When I moved to Idaho is the summer of 2007, I was given an internship at Anheuser-Busch to work harvest. Who knew that the internship would last for 2 years. During this time, I learned so much about barley and its role in producing beer for our horses. Haha! You know what I mean, just beer. I worked between the elevator which stores the grain and sends it to the malt house and I also worked at the seed plant. They clean the seed and treat it so it's fully prepared for planting in the spring. Just so you know, seed barley looks like regular barley. I spend the majority of my time at the elevator where I did everything. I loaded the trains, dumped trucks, entered data, checked fields, and graded barley. You see, it is BEYOND important that the barley is graded upon arrival to the elevator. If the grain does not fall into specifications it compromises the quality of the malt and the quality of your beer. When AB got bought out by Inbev, a German company and obviously they didn't care that I rocked the house with grading. Then layoffs started to take place, I knew I'd be the first to go. I was not considered a full-time employee so why keep me around. In January of 2009 they said auf wiedersehen and out the door I went.
Now that it's harvest time here in South East Idaho. This year, I'm back at Busch grading barley and helping with various tasks. I have been working a few hours a night then all day on Saturdays.
Because it's Friday and some people like to enjoy a nice cold one after work, I decided to go over how you grade barley. So, please join me as I cover a small step in producing beer.
-Farmers responsibilities-
1. Plant the grain
2. Water the grain
3. Watch the grain grow
4. Freak out when the wind blows, it rains or hails
5. Shut off the water
6. Watch the grain finish turning
7. Dust off the combine
8. Start thrashing
9. Take a truck full of barley to the elevator or personal storage bin
-AB responsibilities-
1. Probe truck

2. Listen to it get sucked up and put in this contraption

3. Take grain out of small hopper

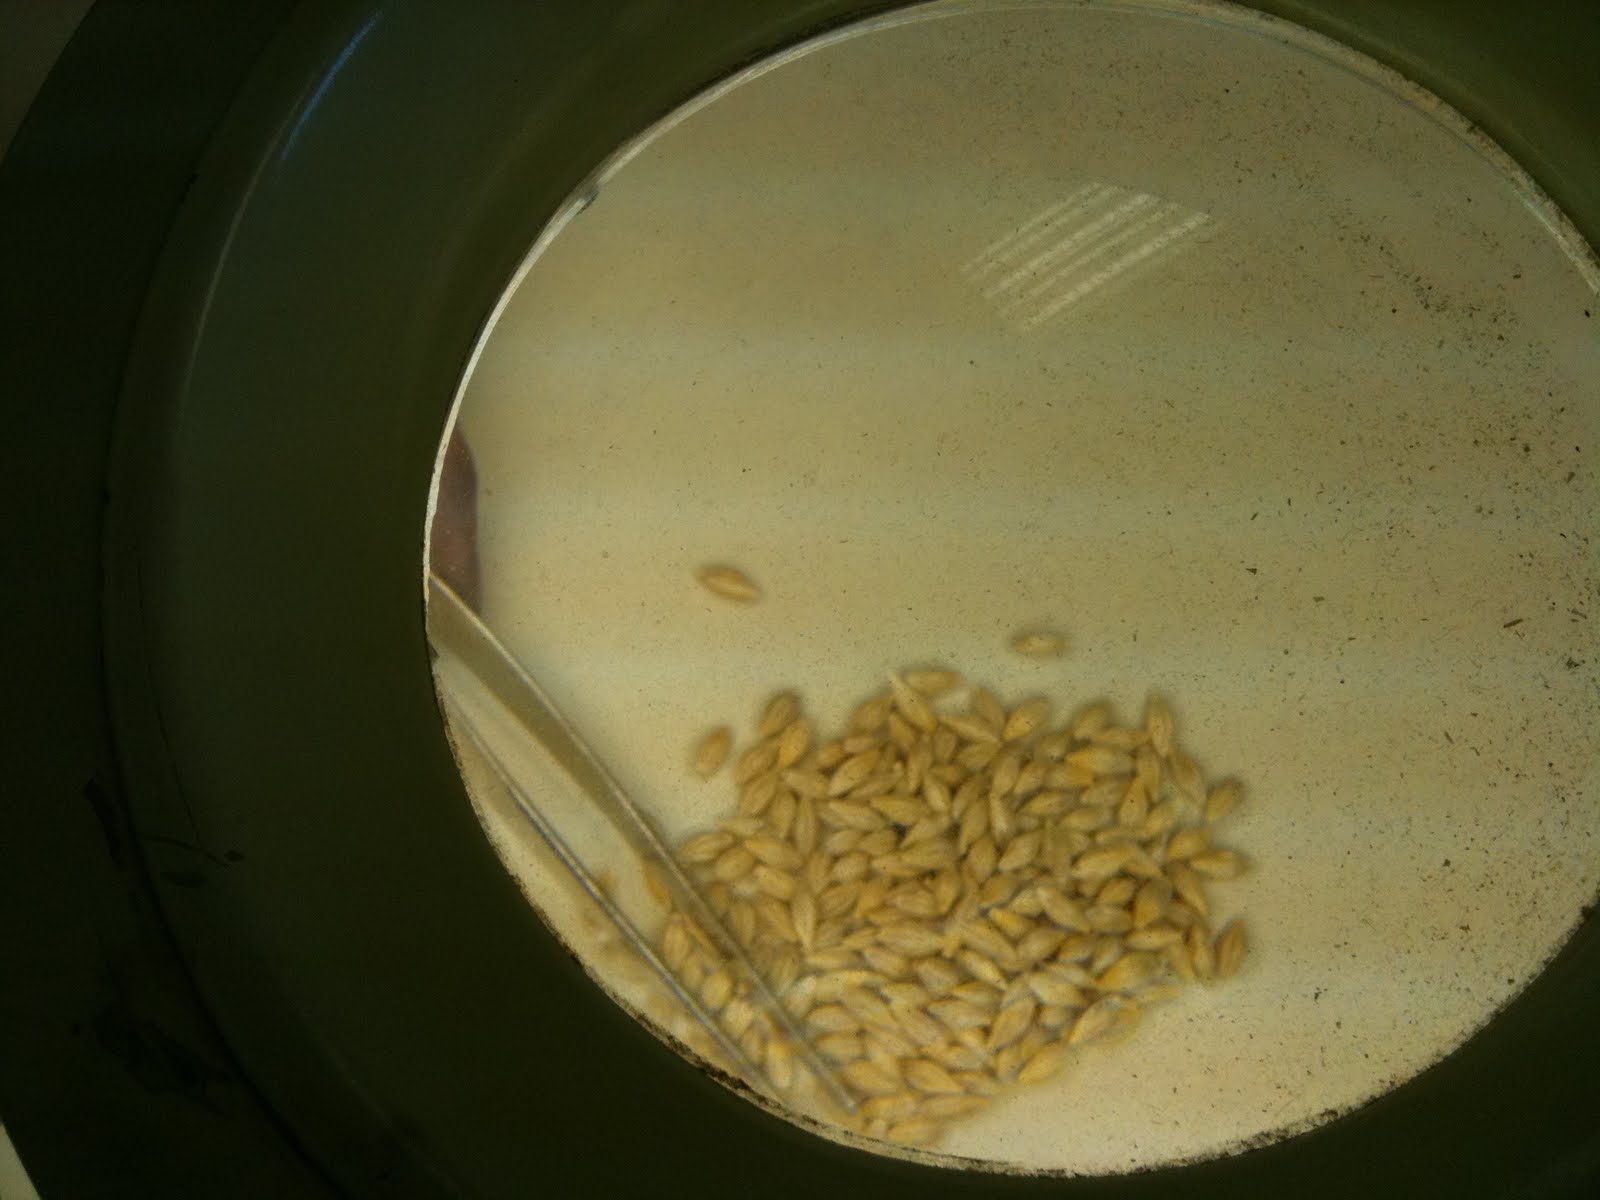
4. Put a sample in the whole grader

This checks the protein and moisture. This is a VERY IMPORTANT STEP! With high protein and moisture, the barley is compromised for malting. The picture below has perfect protein and moisture.

5. Gather the test weight of the barley The test weight is how many pounds per bushel the grain is.

6. Take 250 grams and place it in the sifter This helps determine how plump and thin the barley is. Obviously the more plump the barley, the better chance of malting.

7. Determine skinned and broken barley When barley is skinned or broken, it will not be able to germinate. No germination=no malt. This step also helps identify any diseases.
When the barley comes straight from the field a lot of issues are eliminated however when farmers store their barley various problems could arise. They can get bugs and that is BAD BAD BAD! If it is a grain weevil it will cause SIGNIFICANT damage and will not be allowed at the elevator. To eliminate this, one must fumigate. If the grain is stored when it has high moisture, it will succumb to heat damage. If the grain gets wet or is wet when stored, it can sprout. Both heat and sprout will cause the grain not to germinate. The way to establish that the barley has heat, sprout or bugs is to pearl it. I don't have a picture because it is rare to pearl during harvest.
Now, the next time you take a sip from a AB product think "Celeste could have had a hand in making this yumm-o drink!" Just give it a few months first.
You're welcome!


This was an amazing post friend! So educational! Now I'm singing the song...whiskey for my meeennnnn.....
ReplyDeleteThis was so interesting! Sounds like you learned a lot there!
ReplyDelete